User Tools
The goal of this tutorial is to show some methods creating a sky or an evironment for your scene.
Method One: Creating a skybox
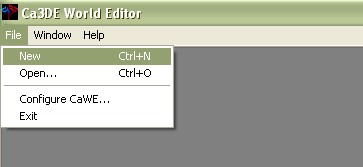
First, create a new empty map by clicking “File”, then “New” in the menubar. Alternatively, you can open an existing map, to which you want to add a skybox.
Create a block. For this, click the “New Brush” Icon in the left toolbar. In the appearing green bar at the top of the main-window check if “block” is selected as “New brush shape”. In the orthogonal windows (those with the front view, left view, down view), draw a cube. Make it's dimensions bigger than your scene shall be, so that it surrounds the entire scene. Also, be sure that the size of height, width and depht is the same. Press enter. Don't worry, if the size is not really exact now, you can simply correct it later.
Next, choose your texture for your sky-map. You can select a texture from the skydome-folder in the textures-directory coming with your Cafu SDK, or you can make your own skybox, textures. How this can be done, I will explain later in another tutorial.
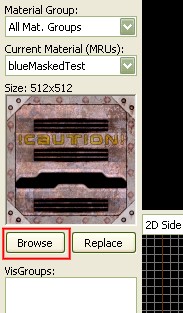
To select your sky-texture, press the “Browse”-Button, which is located under the Texture-Preview-Window. A new window opens, showing all texures the CaWe can find in it's pathes. In the filter input box, at the bottom of this window, type sky, so that only the textures related to this word are shown.
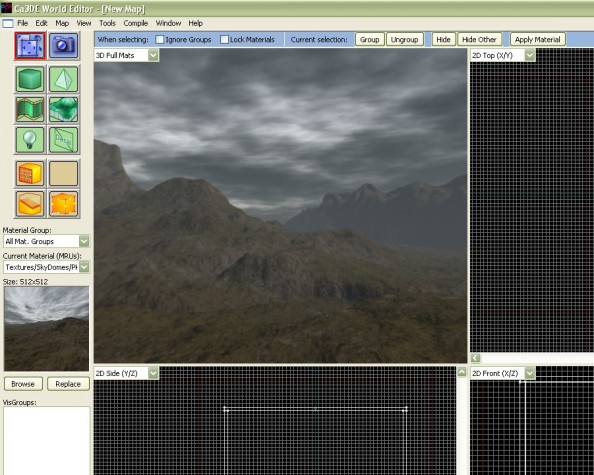
For example, select the “PK_Autumn”-Texture, by double-clicking it. The window will close, and the selected texture will be shown in the preview window. Now, select your cube with the selection tool. For this, click the upper left blue icon in the left toolbar, then click on one face of your cube. The whole cube will be drawn in red color. Alternatively, you can draw a select box around your cube, and it will be highlighted in red too. If you have a map loaded before, be sure that nothing els is selected. In the blue toolbar at the top of the main-window, click “Apply Material”. With your mouse pointer in one of the orthogonal windows, press enter. The sky-texture will be projected on your cube immediately in a perfect way. Don't worry, if your 3D-window will stayed black. Probably your camera is inside your cube, and you are not able to see it right now. This will change during the simple next, last step.
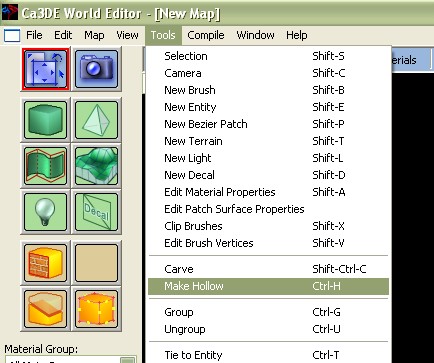
Again, select your Box with the select tool. Then, in the menu-bar, first click “Tools”, then “Make hollow”.
In the opening window, confirm the entry of 32 units, press “Enter”, and you are done. Your skybox will be shown also in the 3D-Window, and you are ready to compile your map.


