User Tools
This is an old revision of the document!
Page Contents
Skins
Skins are used to apply alternative sets of materials to a model.
Typical examples are the butterfly model, where a single mesh is used with multiple skins to implement several species of butterflies; or a monster that exists in tame, mean and hellborn variants.
The Model Editor is used to define and inspect skins as described below. The use of skins is up to the game's script or C++ code.
The skins list
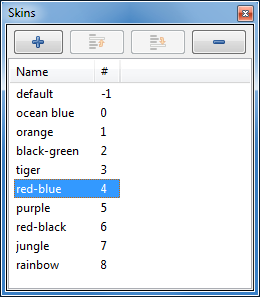
 The Skins pane lists all skins in the model.
For each skin,
- its name and
- the skin number
is shown.
A single click on a skin selects it, a double click opens the Skin Inspector pane as well.
Pressing the F2 key or a single-click on an already selected skin allows you to rename the skin in place.
The “+” button creates a new skin and adds it to the list.
The “-” button deletes the currently selected skins.
Context menu
 An RMB click in the Skins pane opens the context menu:
- Rename allows to rename the skin.
- Add/create new, like the “+” button, creates a new skin and adds it to the list.
The skin inspector
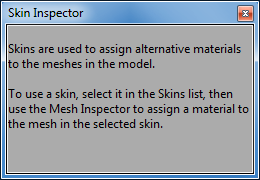
 Skins don't have explicit properties of their own, thus the Skin Inspector pane is just a help dialog that explains the situation:
To use a skin, select it in the Skins list (shown above), then use the Mesh Inspector to assign a material to the mesh in the selected skin.