User Tools
The Clipping Tool
The clipping tool allows you to cut brushes into 2 pieces along a defined clipping plane. You can keep either one of the pieces or both after cutting them.
Although you could use The Edit Vertices (Morph) Tool to shape a brush, it is sometimes easier to cut off pieces from a larger brush to get the fitting result.
To activate the Clipping tool, click on the related icon in the tool bar or use SHIFT+X.
Using the Clipping tool
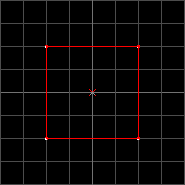
First you need to have an object already selected by The Selection Tool.
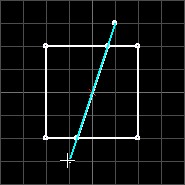
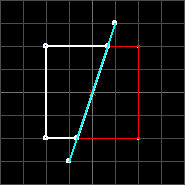
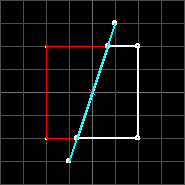
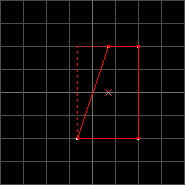
Now you can drag a line between to points in a 2D view to define a clipping plane. The cyan colored line is your clipping plane and shows where the brush is cut. Thick white lines show the parts of the brush that will be kept after the cut. If the whole brush is painted in white lines, the brush will be cut, but both pieces will be kept.
Note that you can't temporarily deactivate the grid snap setting by pressing ALT here, so you have to deactivate it permanently by pressing SHIFT+W if you want to make finer cuts. You can activate it again by pressing SHIFT+W after your finished.
You can switch between the pieces to keep by clicking on the Clip tool icon in the tool bar or by pressing SHIFT+X.
To do the cut you have to press ENTER and only the chosen pieces remain.
Clipping tool keyboard shortcuts
SHIFT+X- Activate Clipping tool.
- If activated → cycle trough clipping modes.
ESC- Switch back to Selection tool.

