User Tools
The New Entity Tool
 The New Entity tool allows you to add both new point-based and new brush-based entities to your worlds.
Please refer to the Introduction to Editing for a quick overview on point-based vs. brush-based entities.
The Entity Guide lists and describes all entity types that are available with Cafu.
The New Entity tool is activated by either clicking on its related button on the tools toolbar, or by pressing the Shift+E keyboard shortcut.
When you activate the tool, the tool options bar shows controls for creating new entities:

The left half of this bar is relevant for placing point-based entities, i.e. at New (point) entity type: you choose the type of the new entity that is to be created. The right half of the bar allows you to turn the currently selected brushes into brush-based entites and back. That is, the Turn into (solid) entity type: button turns world brushes into a brush-based entity of the type that has been chosen from the list to the right of the button, whereas the Back to world button reverses the process by turning the currently selected brush-based entity into regular world brushes again.
Placing Point Entities
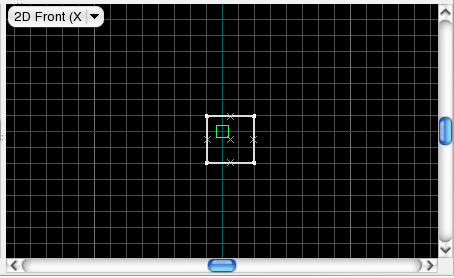
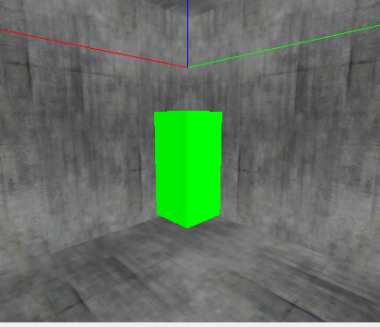
- Drag the green box to where you want the entity in the other views.
Placing Brush-Based Entities
In this example, I will be adding water to a very simple map. The process is very similar when inserting other brush entities.
- In a 2D view, drag out a box the size you want your water to be. Adjust the size in the other 2D views.
- With your mouse cursor over one of the 2D views, press Enter. The brush should be selected if not, select it with the selection tool.
Now compile your map, and you should see water!
See Also
Flash Tutorial – A flash tutorial that demonstrates how entities of type static_detail_model are created and how their visual and collision models are properly set. The second part of the tutorial examines a collision model by example and summarizes how new collision models are created.


